A step-by-step guide to making your own skateboard
Making a skateboard at home is very easy it’s not like a rocket science. Some people feel it’s difficult to make a home but will tell you it is straightforward to make. Anybody can make it at home with a little patience and little knowledge of carpentry work, vacuum press, glues and other materials.
Material requires making skateboard at home
- Hard rock maple wooden board.
- Three high-quality skateboard veneer glue.
- Mold for press
- Jig saw
- Router for rasp
- Paint for designing
- Painter tape.
Veneers
The first most important thing to make a skateboard at home. first you have to buy a hard maple not other types of maple like oak and pine because this kind of material is stiff, strong enough and it can’ break easily.
There are three type of veneers they are called
Face – this kind of veneer is sanded from one side and not sanded from another side.
Cross Band – This sheet of veneer is cut with grain but not cut against gain.
Core Layer- This type of sheet is same like a face, but a difference is that it is both sides of veneer is not sanded.
Applying glue at veneer
Once you have all types veneers now next step is to apply glue on it.
Tiebond glue is best for this. Then you can need of screwed on board. Use glue on all side first Apply glue on the unsanded side of a sheet and unsanded side and then apply on the face of a core layer.
Apply pressure
Once you apply glue on all faces of veneer now, it’s time to make pressure on it.
Take two pieces of cardboard about 3 inches long and put the veneer in between mold and cardboard. Next to take 4 channels irons with 20 inches nuts and washers. Tight a channel iron in the center of a mold so to give a tight press. Once this step is done, let it take shape for about one day to make a hard and stiff.
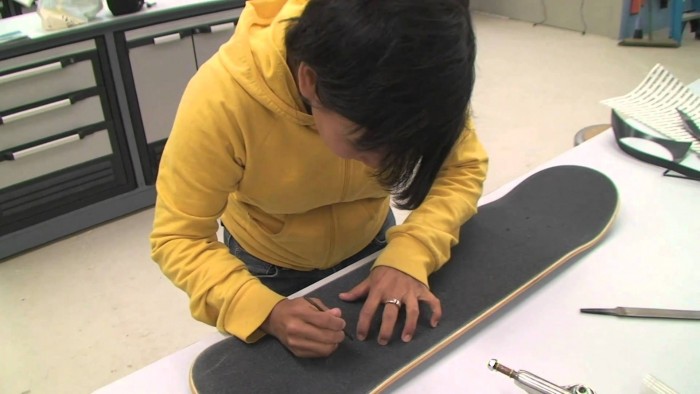
Designing the uncut after rest one day take it out from a mold and remove the piece cardboard. One you unmold it next step if make your design on it. You can use your creativity or use a cadd program for embossing nose to tail and can draw your design on graph paper. But don’t apply a tape on it once your design is not complete according to your choice. Once everything is complete marking for trucks position, and you can start to apply a tape and cut the outlines.
Cutting the Uncut
Once you do this all process the next step to use a band saw because it is a more accurate technique to cut, but if you not have you can use a handy dandy little jigsaw. After cutting is done take a router rasp to curve edges. Then apply sand paper on it.
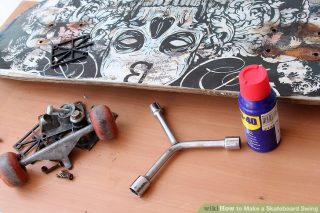
Assemble a custom board: final step is to assemble your skateboard
Trucks: this is large metal pieces that hold your axle and attached to wheels.
Bearings: it allows to move your wheels smoothly, and it comes in steels and ceramics.
Wheels: the central part of skateboard there is a wide variety of wheels available in a market.
After applying all these on board, your skateboard is almost ready.
Finishing touch:
At last, you can design a logo and other painting according to your choice. Now your skateboard is ready to ride.